Create Win 10 Bootable USB Easily
Discover the simple step-by-step guide to creating a Win 10 bootable USB - You won't believe how easy it is!
Table of Contents
Introduction: What is a Bootable USB and Why You Need One
Have you ever heard of a bootable USB? It might sound like a fancy tech term, but it's actually a really useful tool that can help you with your computer. A bootable USB is like a magic wand that can help you install or fix Windows 10 on your computer without any hassle. It's like having a superhero sidekick for your PC!
Imagine your computer is feeling a bit sick, and it needs a fresh start. With a bootable USB, you can give it just that. It's like a mini operating system that you can plug into your computer and make everything right again. So, whether you need to install Windows 10 for the first time or rescue your PC from a problem, a bootable USB is here to save the day!
Getting Ready to Create Your USB Drive
Before you can create your Windows 10 bootable USB drive, there are a few things you need to do to prepare. Let's get started!
Gathering Your Supplies
First things first, you'll need a few items to create your bootable USB drive. Make sure you have a USB drive with enough storage space to hold the Windows 10 files. A drive with at least 8GB of space should work perfectly. Additionally, you'll need access to a working Windows PC to download the necessary files and tools.
Choosing the Right Version of Windows 10
When creating your bootable USB drive, you'll need to decide which version of Windows 10 to install. Windows 10 comes in two main editions: Home and Pro. The Home version is ideal for most users, offering all the essential features for everyday tasks. On the other hand, the Pro version includes additional features for business users and power users.
For most users, Windows 10 Home will be the best choice. However, if you need advanced features like BitLocker encryption or Remote Desktop, you may want to consider Windows 10 Pro.
Creating Your Windows 10 Bootable USB
Are you ready to create your very own Windows 10 Bootable USB drive? Follow these simple steps to get started!
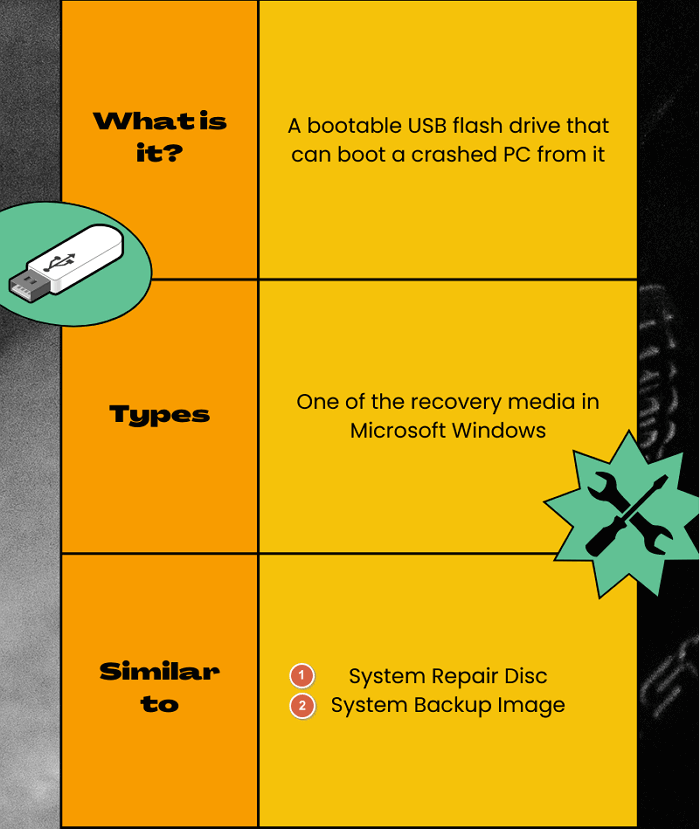
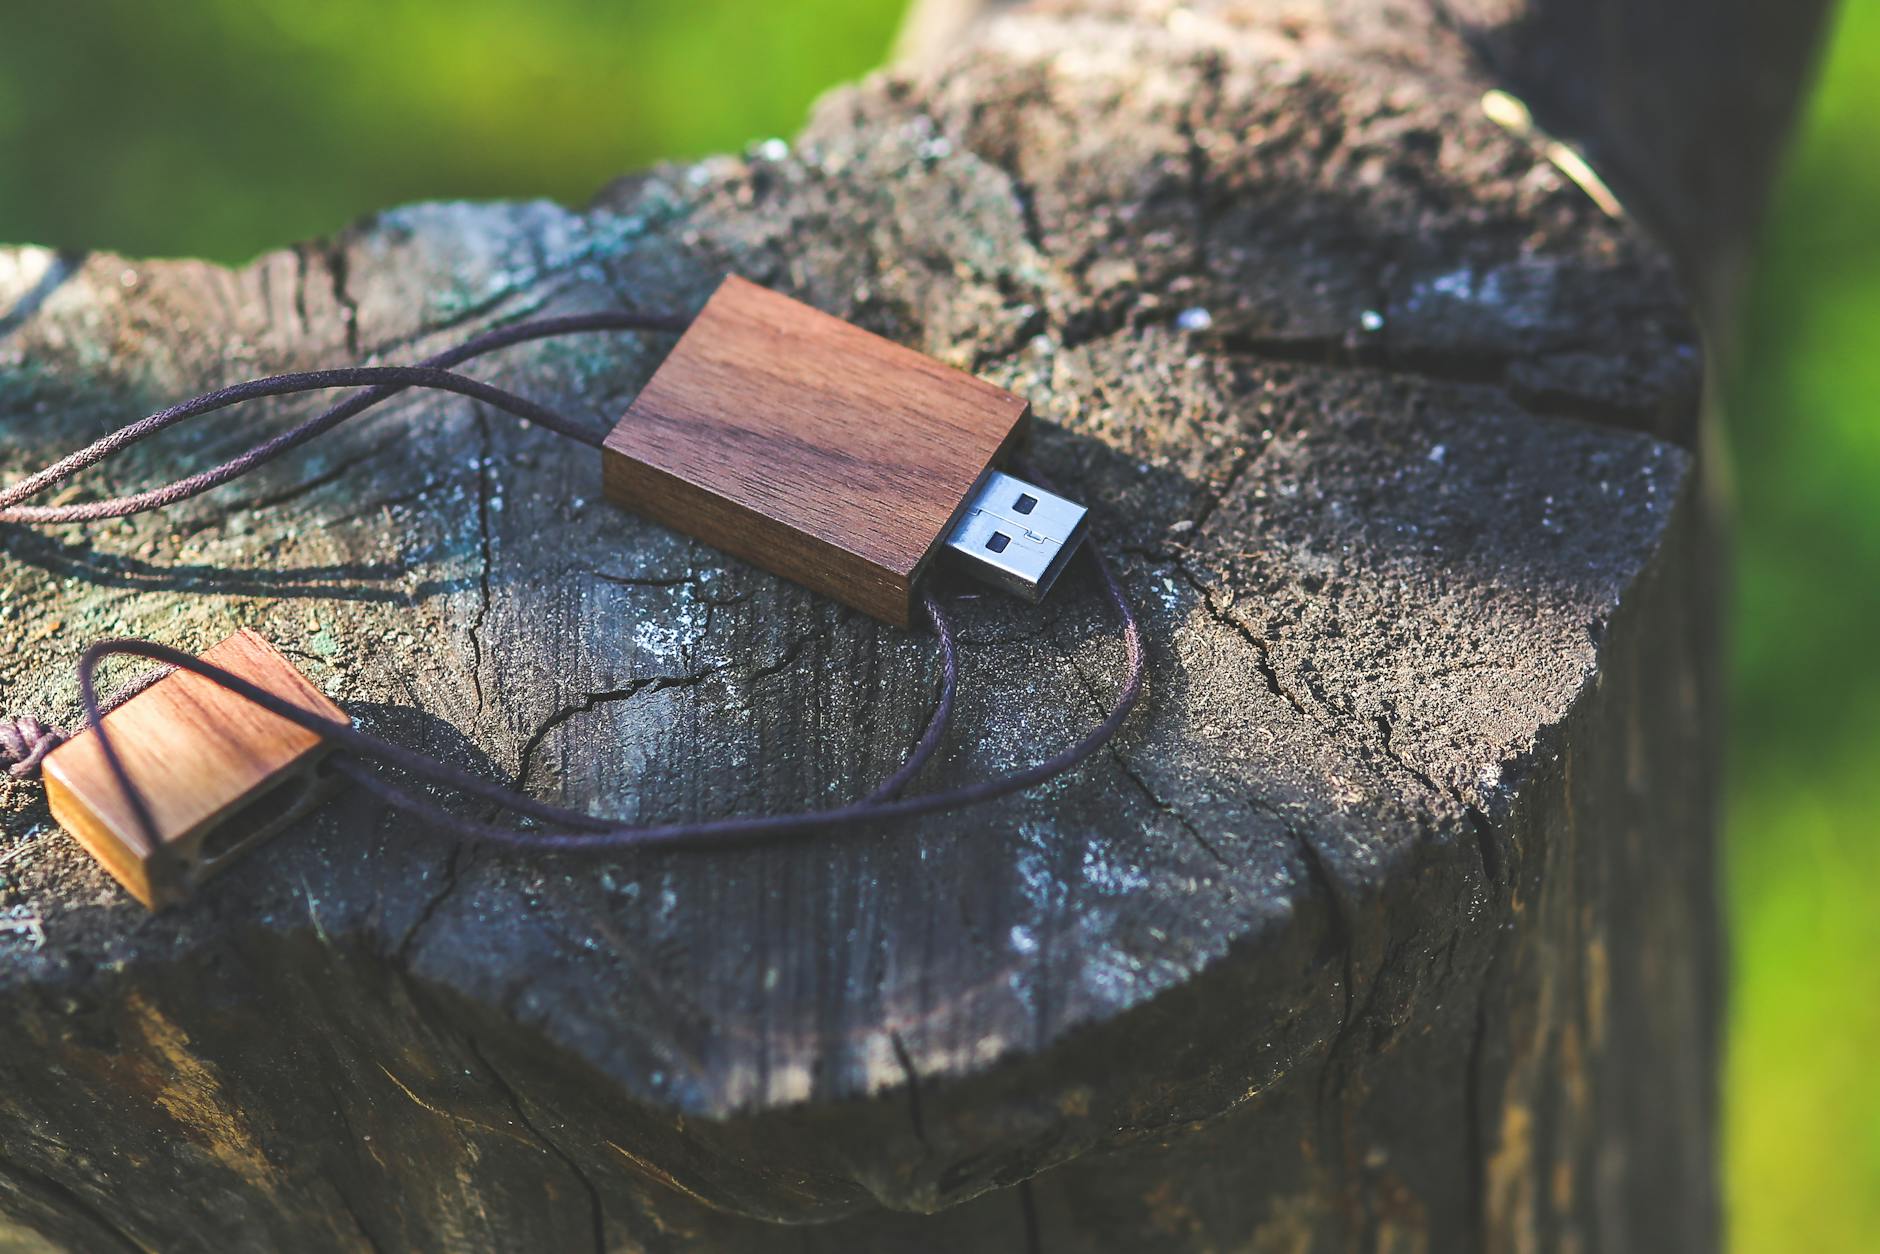
Image courtesy of www.easeus.com via Google Images
Downloading the Media Creation Tool
First things first, you need to download the Media Creation Tool. This tool is provided by Microsoft and is essential for creating your bootable USB drive. You can download it directly from the official Microsoft website. Make sure to choose the version that is compatible with your system.
Using the Media Creation Tool
Once you have downloaded the Media Creation Tool, it's time to get started. Insert your USB drive into your computer and open the tool. Follow the on-screen instructions to select the option to create a bootable USB drive. Choose the version of Windows 10 you want to install and let the tool do its magic.
After the process is complete, safely eject your USB drive from the computer. Congratulations! You now have your very own Windows 10 Bootable USB drive ready for use.
Booting Your PC from the USB Drive
Once you have successfully created your Windows 10 bootable USB drive, the next step is to boot your PC from it. Booting from a USB drive allows you to install or repair Windows 10 without having to access the operating system already installed on your computer. Follow these steps to set up your computer to boot from the USB drive.
Accessing BIOS Settings
The first thing you need to do is access the BIOS settings of your computer. BIOS stands for Basic Input/Output System and is a firmware that controls the basic functions of your PC before your operating system takes over. To access BIOS, restart your computer and look for a key that needs to be pressed during startup. Common keys to access BIOS are F2, Del, Esc, or F12. Once you're in BIOS, look for the Boot menu.
Changing Boot Order
In the Boot menu, you will see a list of devices that your computer can boot from. Use the arrow keys to move the USB drive to the top of the list. This will ensure that your computer tries to boot from the USB drive before the internal hard drive. Once you have set the boot order, save the changes and exit BIOS. Your computer will now restart.
Booting from the USB Drive
As your computer restarts, keep an eye out for any instructions on the screen that prompt you to press a key to boot from the USB drive. Usually, it will be a key like F12 or Esc. Press the designated key to boot from the USB drive. If you miss the prompt, you may need to restart your computer and try again.
Once you have successfully booted from the USB drive, the Windows 10 setup process will begin. Follow the on-screen instructions to install or repair your Windows 10 operating system. Remember to remove the USB drive after the process is complete to prevent your computer from booting from it in the future.
Troubleshooting Common Problems
If you are having trouble creating your Windows 10 bootable USB, don't worry, you're not alone. Here are a few common issues you might encounter and how to fix them:
| Method | Requirements | Steps |
|---|---|---|
| Using Windows media creation tool | A Windows PC, USB drive with at least 8GB storage, Internet connection | Download and run the media creation tool, select 'Create installation media for another PC', select language, edition and architecture, select USB flash drive, follow on-screen instructions |
| Using Rufus | A Windows PC, Rufus software, USB drive with at least 8GB storage, Windows 10 ISO file | Download and run Rufus, select USB drive and Windows 10 ISO file, leave default settings, click 'Start' and wait for the process to complete |
| Using Diskpart command | A Windows PC, USB drive with at least 8GB storage, Windows 10 ISO file | Open Command Prompt as administrator, run 'diskpart', run 'list disk', select USB drive, clean and format USB drive, mark USB partition as active, copy Windows 10 files to USB drive |
Image courtesy of www.easeus.com via Google Images
1. Insufficient Storage Space on your USB Drive
If you see an error message indicating that there is not enough space on your USB drive to create the bootable media, make sure to use a USB drive with at least 8GB of storage capacity. You may need to delete unnecessary files or use a larger USB drive to proceed.
2. Media Creation Tool Not Working Properly
If the Media Creation Tool is not working as expected or is giving you errors during the creation process, try restarting your computer and running the tool again. If the issue persists, consider downloading the tool again from the official Microsoft website to ensure you have the latest version.
3. USB Drive Not Recognized by Your Computer
If your computer doesn't recognize the USB drive when you plug it in, try using a different USB port on your computer. Sometimes, a faulty USB port can cause connection issues. You can also try using a different USB drive to see if the problem lies with the drive itself.
4. Unable to Boot from the USB Drive
If you are unable to boot from the USB drive and your computer keeps starting from the internal hard drive instead, you may need to change the boot order in your computer's BIOS settings. Restart your computer and enter the BIOS settings by pressing a specific key (usually F2, F10, or Del) during startup. Look for the boot order settings and change it to prioritize booting from the USB drive first.
By following these troubleshooting tips, you should be able to overcome common problems you may encounter when creating or using a Windows 10 bootable USB drive. Remember, perseverance is key, and don't hesitate to seek help if you need further assistance. Happy booting!
Conclusion and Next Steps
Creating a Windows 10 bootable USB drive is a handy skill to have in your tech toolbox. Not only does it allow you to easily install or repair Windows on your computer, but it can also save you time and hassle in the long run.
What to Do Next?
Now that you've successfully created your Windows 10 bootable USB drive, there are a few things you might want to consider doing next. Here are some suggestions:
1. Back up Your Data: Before you proceed with any installations or repairs using the bootable USB, it's always a good idea to back up your important files and data. This ensures that you won't lose anything in case something goes wrong during the process.
2. Explore Windows 11: If you're interested in upgrading to the latest version of Windows, Win 11, you can use your bootable USB drive to install it as well. Just make sure to download the Windows 11 installation files and follow a similar process to create a bootable USB drive for Win 11.
3. Keep Your USB Drive Safe: Since your bootable USB drive contains important installation files, it's essential to keep it in a secure place where it won't get damaged or lost. Consider creating a backup of your bootable USB drive or storing it in a safe location for future use.
By following these simple steps and suggestions, you'll be well-prepared to tackle any Windows-related issues that may come your way. Congratulations on creating your own Windows 10 bootable USB drive!
FAQs: Your Questions Answered
Can I Use a Windows 11 Home USB on a Windows 10 Computer?
It's best to use a Windows 10 bootable USB for a Windows 10 computer to ensure compatibility. While Windows 11 is the latest version, using a Windows 10 USB will guarantee a smooth installation or repair process on your Windows 10 PC.
Do I Need to Purchase a New Copy of Windows 10 to Create a Bootable USB?
No, you don't need to buy a new copy of Windows 10 to create a bootable USB. The Media Creation Tool provided by Microsoft allows you to create a bootable USB drive for Windows 10 using your existing license.
What Should I Do If My Computer Doesn't Boot from the USB Drive?
If your computer doesn't automatically boot from the USB drive, you may need to change the boot order in your PC's BIOS settings. Restart your computer and enter the BIOS setup menu (usually by pressing F2 or Del during boot). Look for the boot order settings and ensure that the USB drive is listed as the first boot option.


