How to install Windows 10 Pro for free?
How to install Windows 10 Pro for free?
Introduction
What is Windows 10 Pro?
Windows 10 Pro is a powerful operating system developed by Microsoft. It is designed for professional users and offers advanced features and capabilities that are not available in the standard version of Windows 10. With Windows 10 Pro, users can enjoy enhanced security, remote desktop functionality, and the ability to join a domain. Additionally, Windows 10 Pro includes features such as BitLocker encryption, which allows users to protect their data and keep it secure. Overall, Windows 10 Pro is a great choice for individuals and businesses who require a more robust and feature-rich operating system.
Why install Windows 10 Pro?
Windows 10 Pro is an advanced operating system that offers a wide range of features and benefits for users. Whether you are a professional or a power user, Windows 10 Pro provides enhanced security, increased productivity, and greater flexibility. With features like BitLocker encryption, remote desktop access, and advanced management tools, Windows 10 Pro is the ideal choice for businesses and individuals who require a powerful and secure operating system. By installing Windows 10 Pro, you can take advantage of all these features and enjoy a seamless computing experience.
System requirements
Before installing Windows 10 Pro, make sure your computer meets the following system requirements:
- Processor: 1 GHz or faster
- RAM: 1 GB for 32-bit or 2 GB for 64-bit
- Hard disk space: 16 GB for 32-bit OS or 20 GB for 64-bit OS
- Graphics card: DirectX 9 or later with WDDM 1.0 driver
- Display: 800x600 resolution
It is important to note that Windows 10 Pro is designed to run on modern hardware and may not be compatible with older machines or legacy software. If you are unsure about your computer's compatibility, it is recommended to check the system requirements or consult with a professional before proceeding with the installation.
Step 1: Downloading Windows 10 Pro
Official Microsoft website
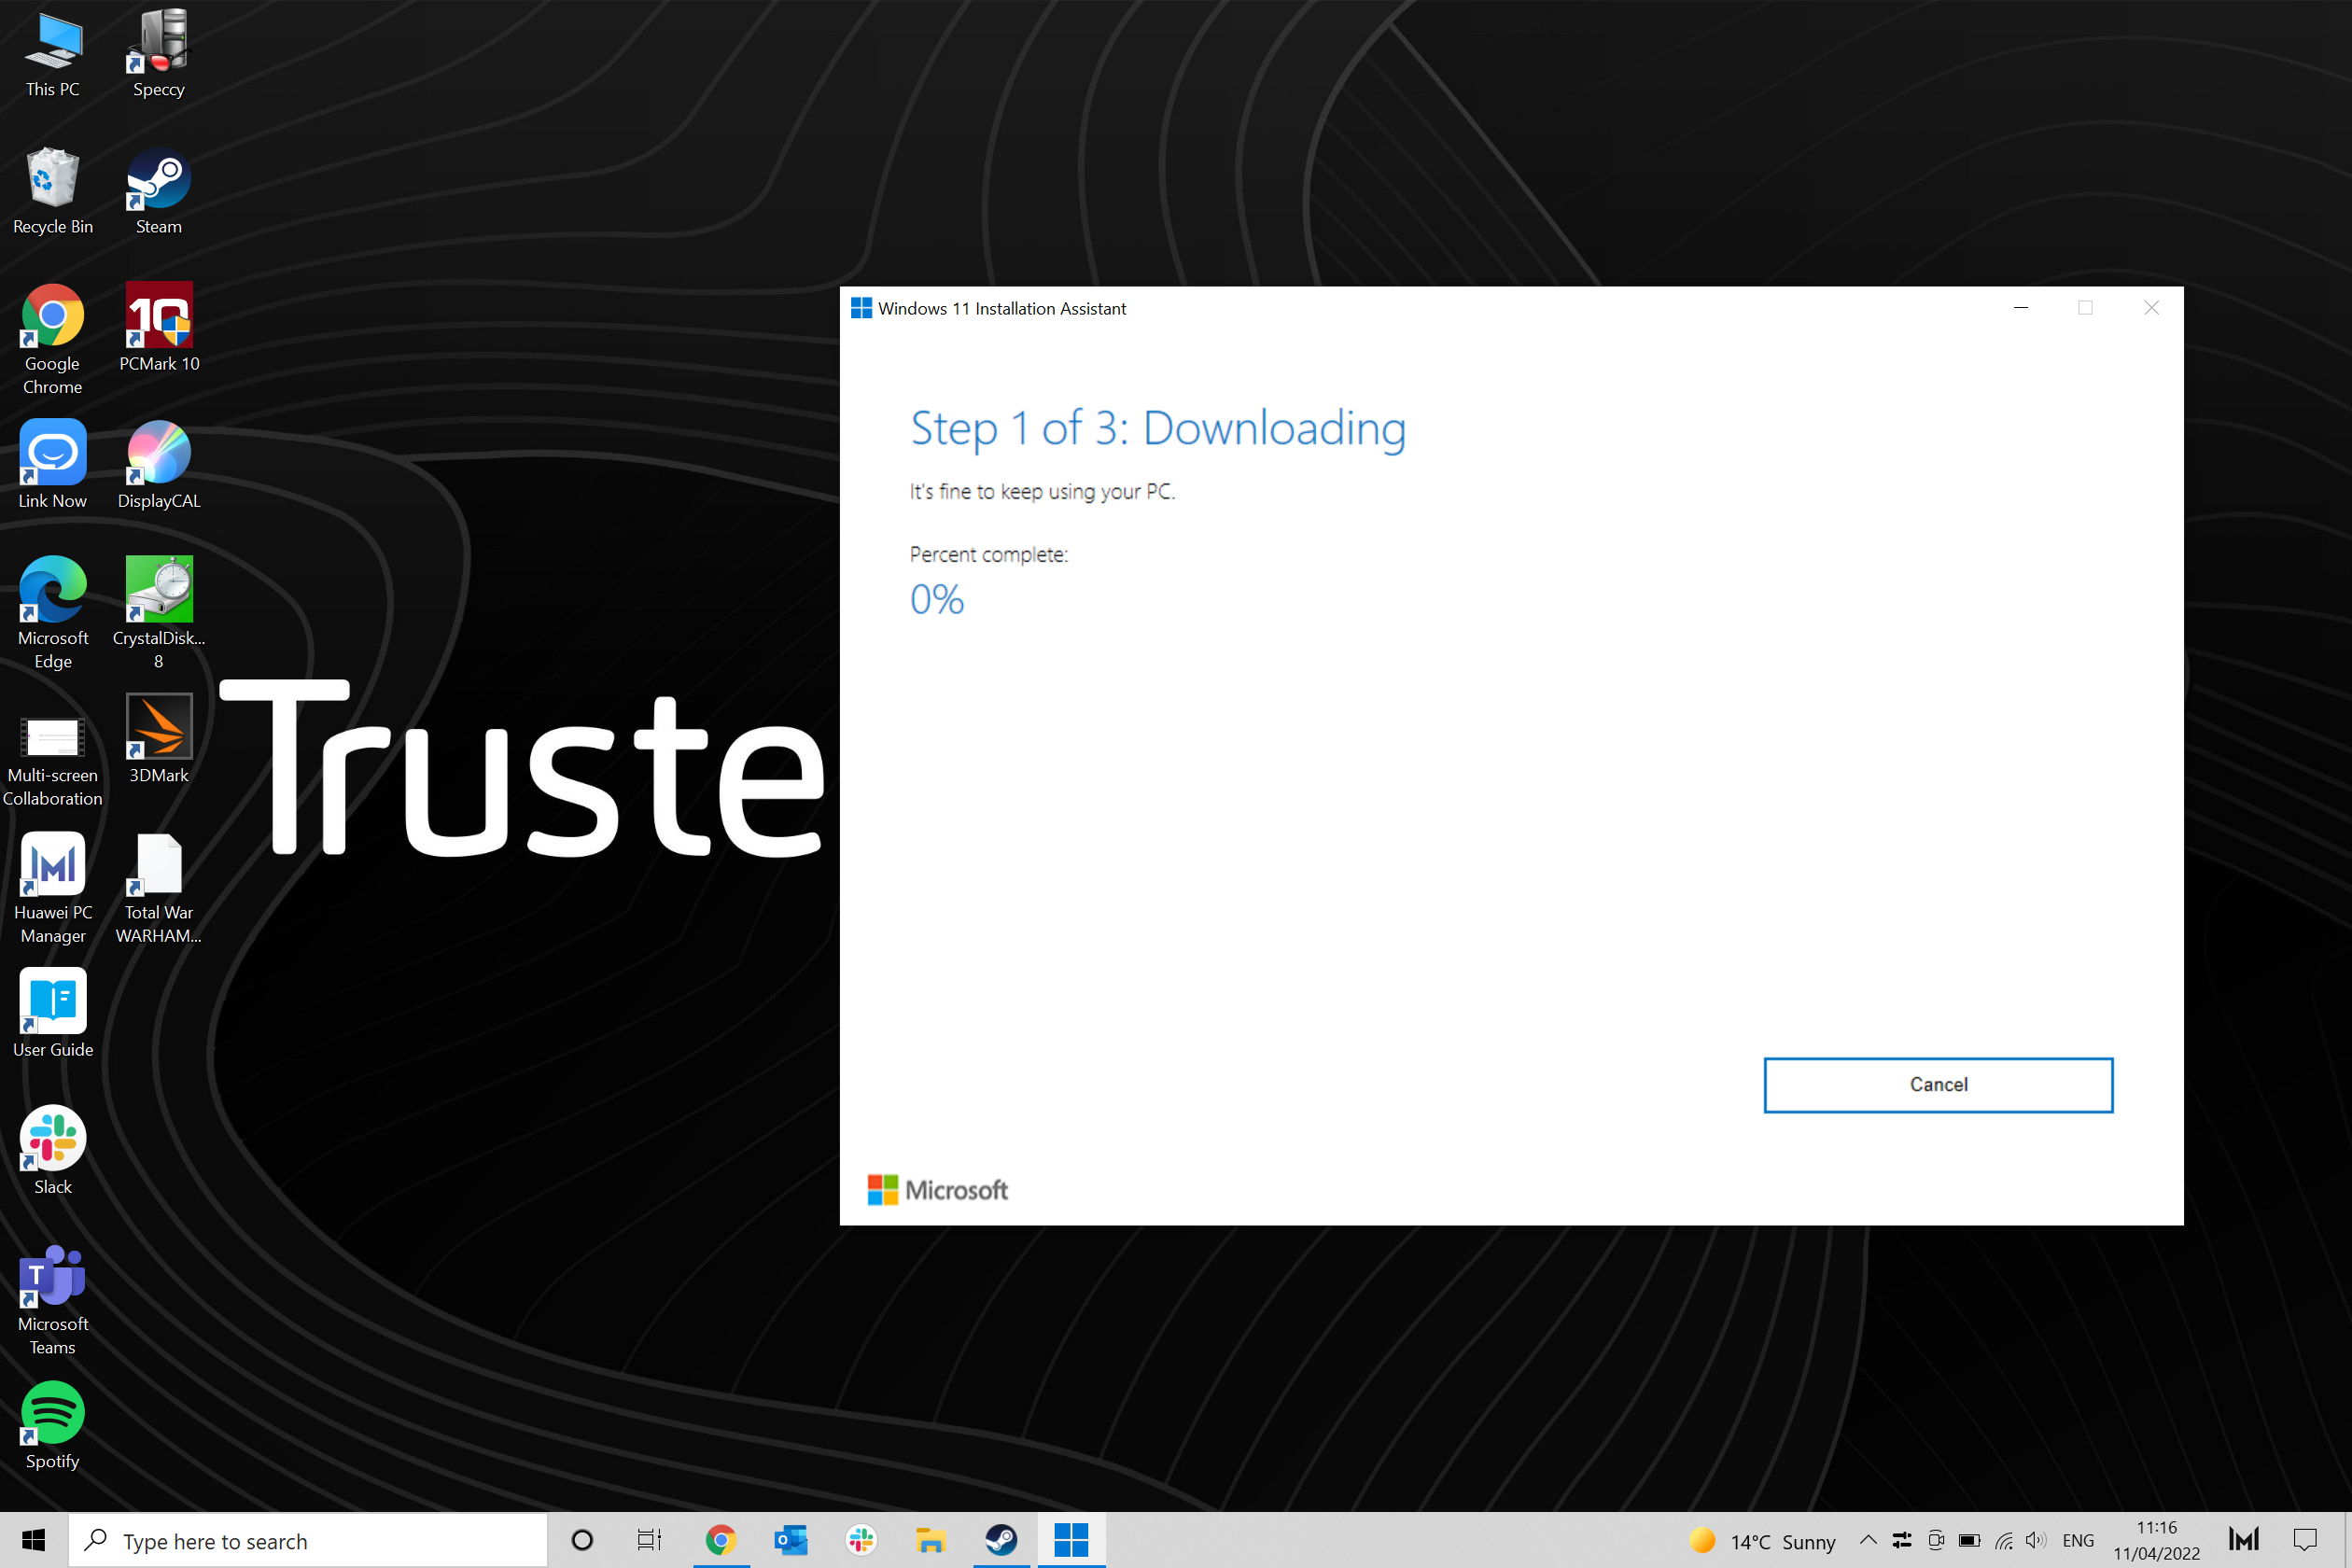
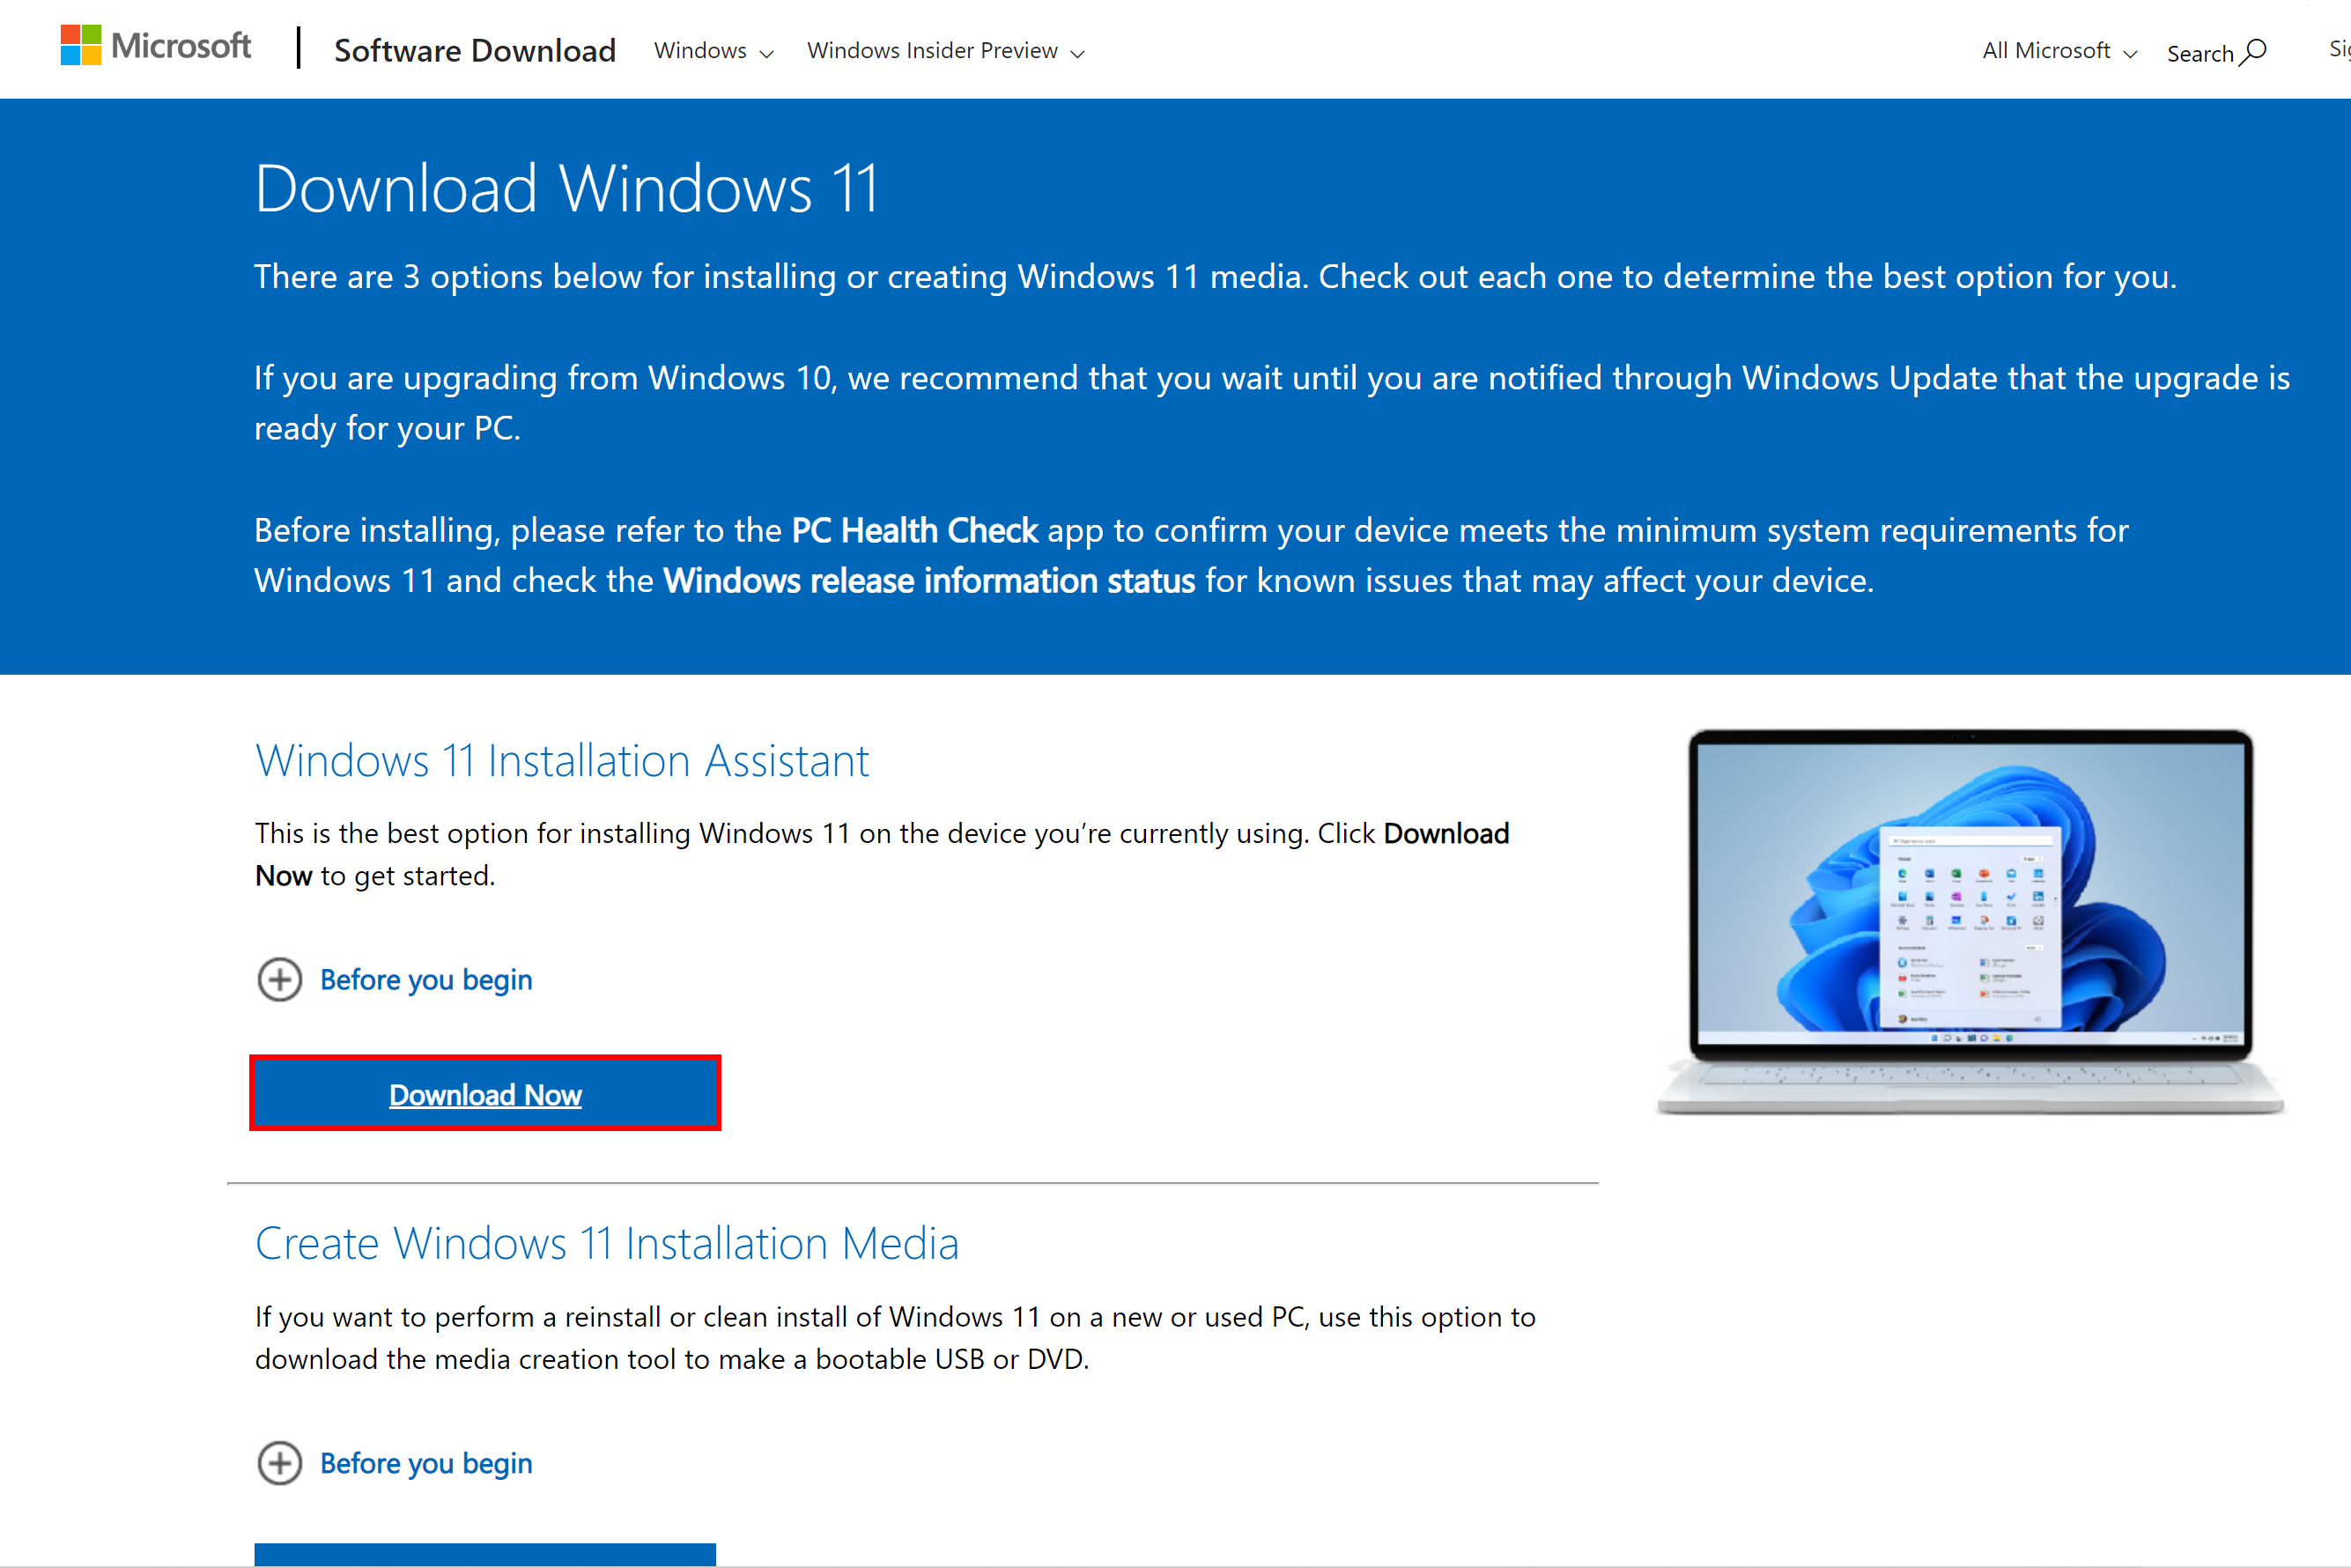
The Official Microsoft website is the most reliable source for downloading Windows 10 Pro. It provides the latest and genuine version of the operating system. To download Windows 10 Pro from the official website, follow these steps:
- Visit the official Microsoft website in your web browser.
- Click on the "Download now" button.
- Select the edition of Windows 10 Pro that you want to download.
By downloading Windows 10 Pro from the official website, you can ensure that you are getting a legitimate copy of the operating system with all the necessary updates and security patches.
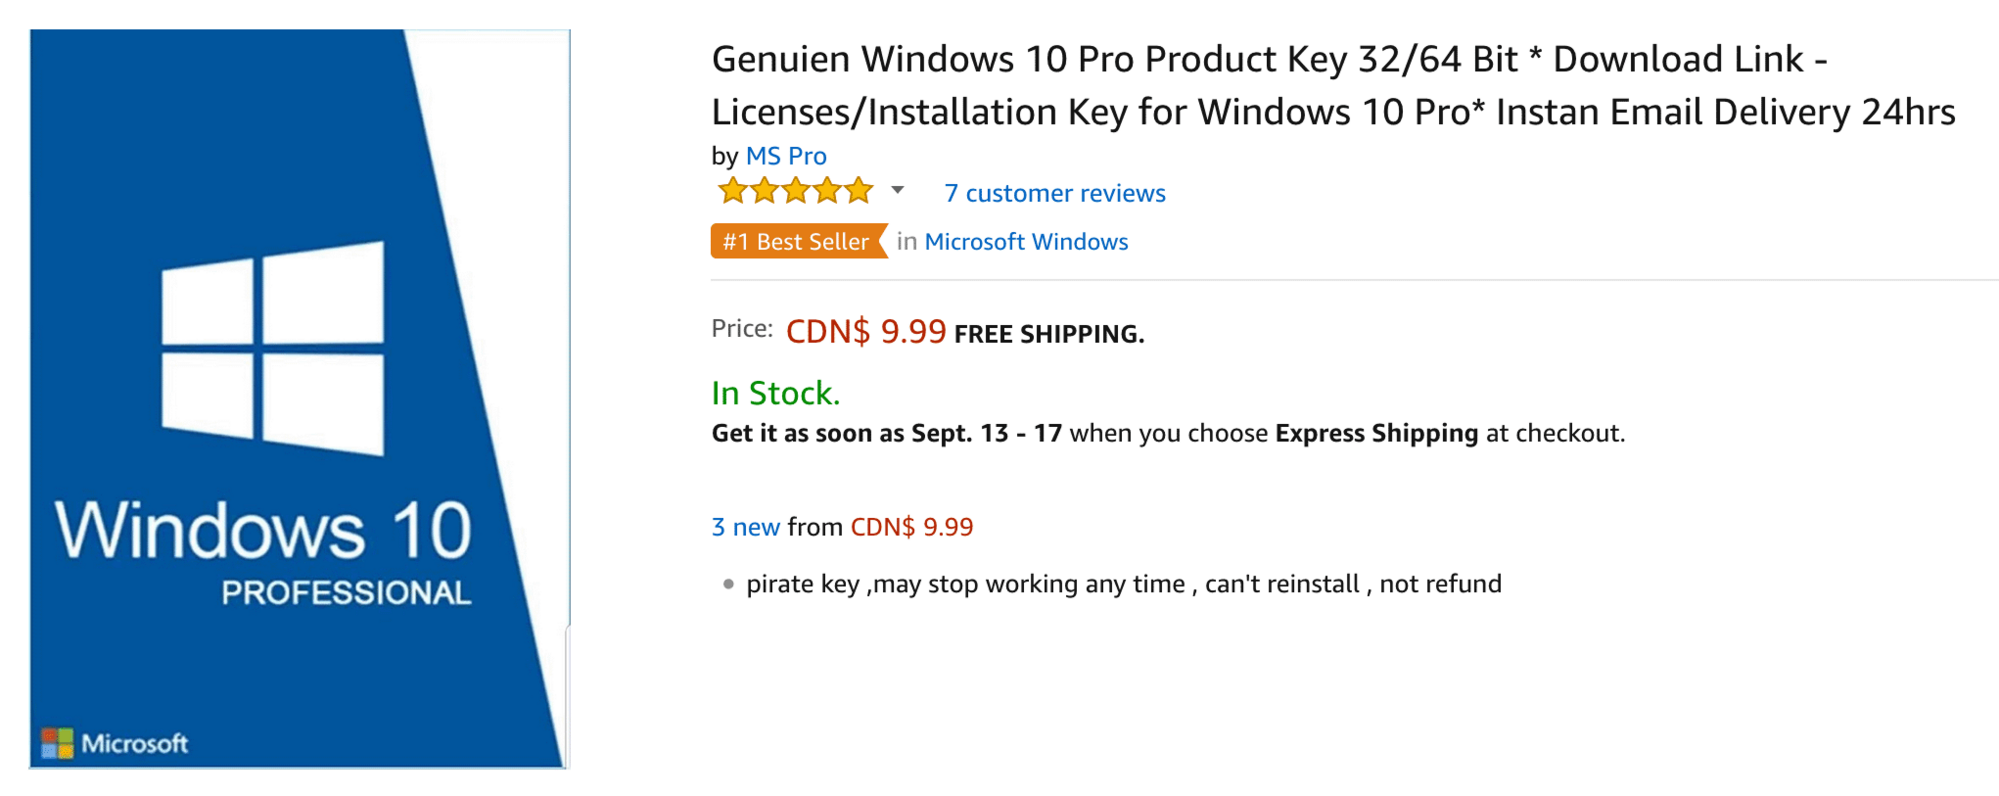
Alternative sources
If you are unable to download Windows 10 Pro from the official Microsoft website, there are alternative sources you can consider. These sources provide unofficial versions of Windows 10 Pro that you can download and install. However, it is important to note that downloading Windows from unofficial sources may pose security risks and could potentially harm the performance of your system. Therefore, it is recommended to only download Windows 10 Pro from trusted sources.
Choosing the right version
When choosing the right version of Windows 10 Pro, it is important to consider your specific needs and requirements. Windows 10 Pro offers a range of features and capabilities that are designed for professional use. Up To 45% faster performance, enhanced security, and advanced management tools are just a few of the benefits that Windows 10 Pro provides. Additionally, Windows 10 Pro allows you to join a domain, which is essential for businesses and organizations. By selecting the appropriate version of Windows 10 Pro, you can ensure that you have access to all the features and functionalities that meet your needs.
Step 2: Creating a bootable USB drive
Formatting the USB drive
To create a bootable USB drive for installing Windows 10 Pro, you first need to format the USB drive. This step is important to ensure that the drive is compatible with the Windows installation process. Formatting the USB drive will erase all data on it, so make sure to back up any important files before proceeding. To format the USB drive, follow these steps:
- Connect the USB drive to your computer.
- Open the Disk Management utility by right-clicking on the Start button and selecting Disk Management.
- In the Disk Management window, locate the USB drive and right-click on it.
- Select Format from the context menu.
- Choose the file system format (usually NTFS) and give the USB drive a name.
- Click OK to start the formatting process.
Once the USB drive is formatted, you can proceed to the next step of creating a bootable USB drive for installing Windows 10 Pro.
Using Rufus
Using Rufus is a popular method for creating a bootable USB drive. It is a lightweight and easy-to-use tool that allows you to format the USB drive and copy the Windows 10 Pro installation files onto it. To use Rufus, follow these steps:
- Download the latest version of Rufus from the official website.
- Insert the USB drive into your computer.
- Open Rufus and select the USB drive from the device dropdown menu.
- Choose the Windows 10 Pro ISO file that you downloaded in the previous step.
- Select the partition scheme and target system type according to your computer's specifications.
- Click on the Start button to begin the process.
Once Rufus has finished creating the bootable USB drive, you can proceed to the next step of the installation process.
Using Windows USB/DVD Download Tool
To create a bootable USB drive using the Windows USB/DVD Download Tool, follow these steps:
- Download and install the Windows USB/DVD Download Tool from the official Microsoft website.
- Launch the tool and select the option to create a bootable USB drive.
- Insert the USB drive into your computer and select it as the destination for the bootable drive.
- Choose the Windows 10 Pro ISO file that you downloaded earlier.
- Click on the 'Begin copying' button to start the process.
By using the Windows USB/DVD Download Tool, you can easily create a bootable USB drive for installing Windows 10 Pro. This tool provides a simple and straightforward way to break free from Bluetooth and install Windows 10 Pro on your computer.
Step 3: Installing Windows 10 Pro
Booting from the USB drive
Once you have created a bootable USB drive with the Windows 10 Pro installation files, you can proceed to boot your computer from the USB drive. To do this, you need to access your computer's BIOS settings and change the boot order to prioritize the USB drive. Restart your computer and press the appropriate key (usually F2, F12, or Del) to enter the BIOS settings. Once in the BIOS settings, navigate to the Boot tab and change the boot order to place the USB drive at the top. Save the changes and exit the BIOS settings. Your computer will now boot from the USB drive, and the Windows 10 Pro installation process will begin.
Choosing the installation options
After booting from the USB drive, you will be prompted to choose the installation options. This step is crucial as it determines the configuration of your operating system. You will have the option to select the language, time and currency format, and keyboard layout. Additionally, you can choose whether to perform a clean installation or upgrade from an existing version of Windows. It is recommended to perform a clean installation for optimal performance and stability. Once you have made your selections, click on the 'Next' button to proceed with the installation process.
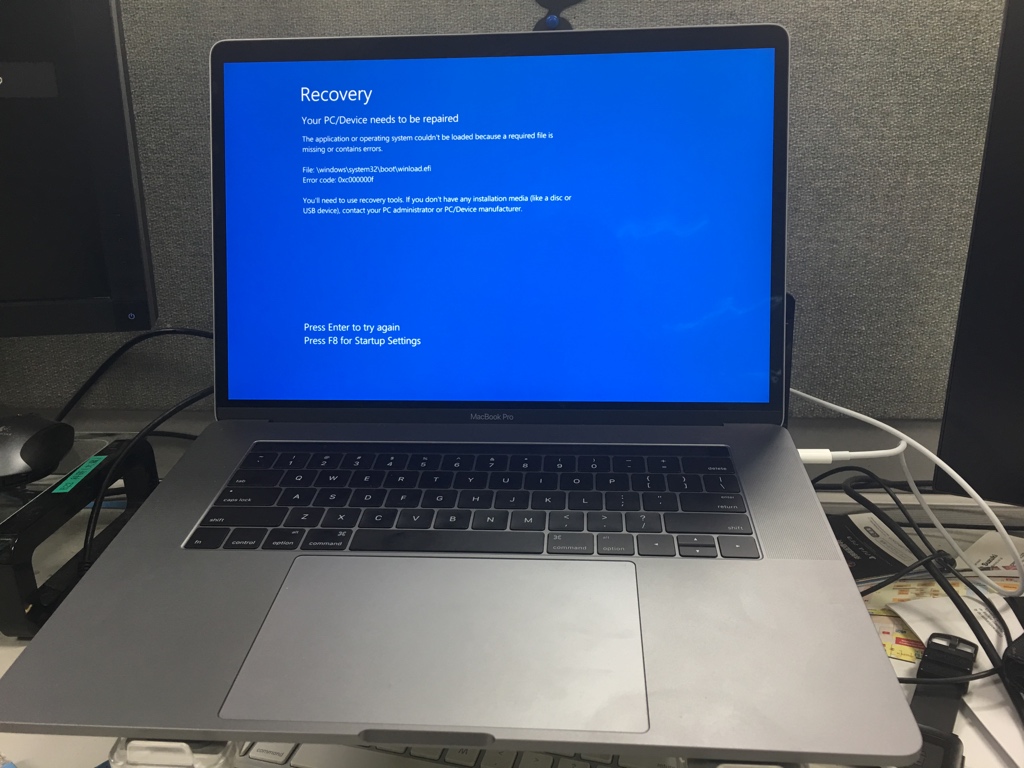
Activating Windows 10 Pro
After successfully installing Windows 10 Pro, you will need to activate your copy to access all the features and receive support from Microsoft. There are several ways to activate Windows 10 Pro:
- Product key: If you have a valid product key, you can enter it during the installation process or activate it later in the settings.
- Digital license: If you previously upgraded from a genuine copy of Windows 7 or Windows 8.1, your digital license will be automatically linked to your Microsoft account.
- Activation troubleshooter: If you made significant hardware changes to your device, you can use the activation troubleshooter to reactivate Windows 10 Pro.
Once activated, you will have access to all the features and support provided by Microsoft.
Step 4: Post-installation steps
Installing drivers
After installing Windows 10 Pro, the next step is to install drivers for your hardware components. Drivers are software programs that allow your computer's operating system to communicate with hardware devices such as printers, graphics cards, and network adapters. Without the proper drivers, these devices may not function correctly or at their full potential. To install drivers, you can follow these steps:
- Download drivers from the manufacturer's website or use a driver installation software.
- Run the driver installer and follow the on-screen instructions.
- Restart your computer to apply the changes.
It is important to keep your drivers up to date to ensure optimal performance and compatibility with Windows 10 Pro. You can usually find the latest drivers on the manufacturer's website or through Windows Update.
If you encounter any issues with drivers, such as compatibility problems or errors, you can try overcoming filename character length restriction in Windows 10 by renaming the file or folder with a shorter name.
Updating Windows
After installing Windows 10 Pro, it is important to keep your operating system up to date by updating it regularly. Updates provide bug fixes, security patches, and new features that enhance the overall performance and functionality of your system. To update Windows 10 Pro, follow these steps:
- Go to the Settings app by clicking on the Start button and selecting Settings.
- In the Settings app, click on Update & Security.
- Click on Windows Update in the left sidebar.
- Click on the Check for updates button.
- Windows will now check for available updates and download them automatically.
- Once the updates are downloaded, click on Install now to install them.
By keeping your Windows 10 Pro up to date, you ensure that your system is protected against security vulnerabilities and you can take advantage of the latest features and improvements.
Configuring settings
After installing Windows 10 Pro, it is important to configure the settings according to your preferences. Here are some key settings that you should consider:
- Privacy settings: Windows 10 Pro offers various privacy settings that allow you to control the information shared with Microsoft and other apps.
- Security settings: Configure the security settings to ensure your computer is protected from malware and unauthorized access.
- Personalization settings: Customize the appearance of your desktop, taskbar, and Start menu to make it more personalized.
- Notification settings: Adjust the notification settings to manage how and when you receive notifications from apps and system.
- Power settings: Optimize the power settings to balance performance and battery life.
- Accessibility settings: Windows 10 Pro provides accessibility options for individuals with disabilities, such as visual impairments or mobility limitations.
Configuring these settings will help you make the most out of Windows 10 Pro and enhance your overall user experience.
FAQ (Frequently Asked Questions)
Can I upgrade from Windows 10 Home to Pro for free?
Yes, you can upgrade from Windows 10 Home to Pro for free. However, there are certain minimum system requirements that need to be met in order to perform the upgrade successfully. These requirements include a compatible processor, sufficient RAM, and available storage space. It is recommended to check the official Microsoft website for the detailed system requirements before proceeding with the upgrade.
What is the difference between Windows 10 Pro and Home?
Windows 10 Pro and Home are two different editions of the Windows 10 operating system. Windows 10 Pro includes additional features and functionalities that are not available in the Home edition. Some of the key differences between the two editions include advanced security features, such as BitLocker encryption and Windows Defender Firewall, remote desktop functionality, which allows you to connect to your computer from another location, and domain join capability, which enables you to connect to a corporate network. Additionally, Windows 10 Pro provides Windows support for virtualization, allowing you to run multiple operating systems on a single device. Overall, Windows 10 Pro is designed for business and power users who require enhanced security and advanced features.
Can I use a Windows 7 or 8 product key to activate Windows 10 Pro?
No, you cannot use a Windows 7 or 8 product key to activate Windows 10 Pro. Windows 10 Pro requires its own product key for activation. However, if you have a valid Windows 7 or 8 product key, you may be eligible for a free upgrade to Windows 10 Pro. To check if you qualify for the free upgrade, you can visit the official Microsoft website or contact Microsoft support for more information.


