Install Win 10 Pro From USB in Minutes

Unleash the secret to installing Win 10 Pro in just minutes! Say goodbye to lengthy setup processes with this USB hack.
Table of Contents
Introduction to Installing Windows 10 Pro
We're going to talk about something really cool today - how to install Windows 10 Pro on your computer using a USB stick. Now, you might be wondering, what is Windows 10 Pro and why would someone want to install it? Well, Windows 10 Pro is a special version of Windows 10 that comes with extra features and tools that can be really helpful for certain tasks. Installing it using a USB stick is a quick and convenient way to get it onto your computer.
So, if you're ready to learn how to make your computer even more awesome, let's dive into the world of installing Windows 10 Pro!
What You Need Before You Start
Before you dive into installing Windows 10 Pro from a USB stick, there are a few important things you'll need to have ready. Let's go over them to make sure you're all set for the process.
Choosing the Right USB Stick
First things first, you'll need a USB stick to create a bootable drive for installing Windows 10 Pro. Make sure to pick a USB stick with enough storage space to accommodate the installation files. A USB stick with at least 8GB of space should suffice for this purpose. Also, opt for a reliable and reputable brand to ensure a smooth installation process.
Getting Your Windows 10 Pro Software
Next, you'll need to acquire a copy of the Windows 10 Pro software. This is the operating system that you'll be installing on your computer. You can purchase a legitimate copy of Windows 10 Pro from Microsoft's official website or authorized retailers. Make sure to obtain a valid license key along with the software to activate your installation.
Making Your USB Stick Ready
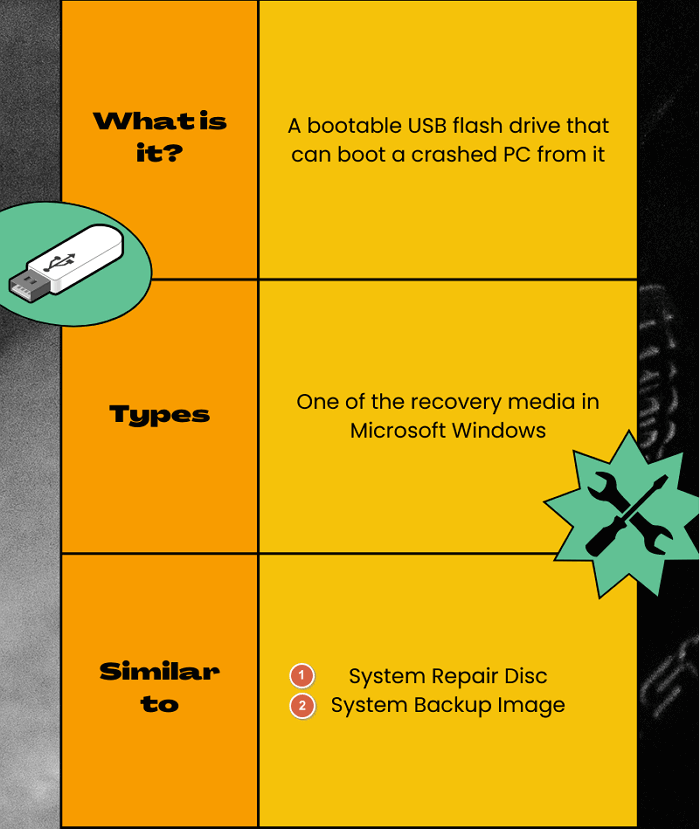
Now that you have all the necessary tools and software ready, it's time to make your USB stick ready for installing Windows 10 Pro. Follow these simple steps to turn your USB stick into a bootable device:

Image courtesy of www.easeus.com via Google Images
How to Download the Right Tools
The first step is to download the official tool provided by Microsoft called the "Media Creation Tool." This tool will help you create a bootable USB drive with the Windows 10 Pro installation files on it. You can easily find and download this tool from the Microsoft website.
Once you have the tool downloaded, insert your USB stick into your computer. Make sure it has enough space to accommodate the Windows 10 Pro installation files. Run the Media Creation Tool and follow the on-screen instructions to create your bootable USB stick.
It's important to note that all the data on your USB stick will be erased during this process, so make sure to back up any important files before proceeding. Once the tool has finished creating the bootable USB stick, you will be ready to move on to the next step of installing Windows 10 Pro on your computer.
The Actual Installation Part
Are you ready to dive into the exciting process of installing Windows 10 Pro on your computer from a USB stick? Let's walk through each step together to make sure you end up with a fully functioning system.
Setting Up Your Computer
Before you begin the installation process, you need to make sure your computer is ready to receive Windows 10 Pro from the USB stick. This involves changing a few settings in your computer's BIOS to prioritize booting from the USB drive. Don't worry, it's easier than it sounds!
Going Through the Installation Steps
Once your computer is set up to boot from the USB stick, you're ready to start the installation process. You'll see a series of screens with instructions guiding you through the setup. Follow along carefully and make selections based on your preferences for language, time zone, and user settings.
During the installation, Windows will copy files onto your computer, set up features, and configure settings to get everything ready for you to start using your new Windows 10 Pro system. Be patient as this can take some time, but soon enough, you'll be greeted with the familiar Windows desktop, ready for you to explore.
After the Installation
Now that you have successfully installed Windows 10 Pro on your computer, it's time to explore all the new features and make it feel like your very own. Let's check out what exciting tasks await you!

Image courtesy of www.amazon.com via Google Images
Checking Out New Features
After the installation of Windows 10 Pro, you'll notice some cool new features that will make using your computer even more fun and efficient. One of the most exciting features is the Cortana voice assistant. You can ask Cortana questions, set reminders, and even tell it to play your favorite music. Give it a try and see how helpful it can be!
| Step | Description |
|---|---|
| 1 | Insert the USB drive with the Windows 10 Pro installation files into your computer. |
| 2 | Restart your computer and enter the BIOS settings. |
| 3 | Set the computer to boot from the USB drive as the primary boot device. |
| 4 | Save the changes and exit the BIOS settings. |
| 5 | Follow the on-screen instructions to install Windows 10 Pro on your computer. |
| 6 | Wait for the installation process to complete, which should only take a few minutes. |
| 7 | Once the installation is finished, remove the USB drive and restart your computer. |
Another awesome feature of Windows 10 Pro is the virtual desktops. This allows you to organize your open windows into different desktops, making it easier to switch between tasks without cluttering your screen. It's like having multiple screens without the need for extra monitors!
Furthermore, the Action Center in Windows 10 Pro gives you quick access to important settings and notifications, helping you stay up-to-date with what's happening on your computer. You can customize the Action Center to show only the notifications you care about most.
Don't forget to explore the Microsoft Store, where you can find a wide range of apps, games, and other exciting content to personalize your Windows experience. From productivity tools to entertainment apps, the Microsoft Store has something for everyone.
With these new features and more, Windows 10 Pro offers a user-friendly and customizable experience that will enhance your computing journey. Take your time to discover all the possibilities and make the most out of your newly installed operating system!
Wrapping Up and Next Steps
Now that you've gone through the process of installing Windows 10 Pro from a USB stick, it's important to review what we've covered and consider what to do next. Let's summarize the key points and offer some guidance on what steps to take if you encounter any difficulties.
Summary of Installation
Throughout this guide, we learned how to create a bootable USB stick with Windows 10 Pro, prepare your computer for installation, and walk through the steps of installing the software. By following these instructions, you successfully upgraded your system to Windows 10 Pro in just a few simple steps.
What to Do Next
After successfully installing Windows 10 Pro, it's time to explore the new features and capabilities that come with this upgrade. Take some time to familiarize yourself with the operating system, customize settings to your liking, and discover how Windows 10 Pro can enhance your computing experience.
If you encounter any challenges or have questions along the way, don't hesitate to reach out for support. Whether you need assistance troubleshooting an issue or want guidance on maximizing the benefits of Windows 10 Pro, there are resources available to help you navigate the process.
Remember, the more you use and engage with Windows 10 Pro, the more comfortable and proficient you will become with its functionalities. Embrace this opportunity to learn and grow your skills as you leverage the power of Microsoft's latest operating system.
Frequently Asked Questions (FAQs)
Thinking about installing Windows 10 Pro from a USB on your computer might bring up some questions. Let's tackle a few common ones!
Can I Use Any USB Stick to Make a Bootable Drive?
It's important to use a USB stick with enough space to hold all the files needed to install Windows 10 Pro. A USB stick with at least 8GB of storage is recommended for this task. Additionally, make sure the USB stick is empty, as the process of creating a bootable drive will erase all existing data on the device.
Do I Need to Purchase Windows 10 Pro Before Creating a Bootable USB?
Yes, you will need to have a licensed copy of Windows 10 Pro to install it on your computer. You can purchase Windows 10 Pro directly from Microsoft or authorized retailers before creating a bootable USB drive.
What Should I Do if My Computer Doesn't Boot from the USB Drive?
If your computer doesn't automatically boot from the USB drive when you start it up, you may need to change the boot order in the BIOS settings. Accessing the BIOS settings varies depending on the computer manufacturer, so it's recommended to consult your device's manual or online guides for specific instructions on how to change the boot order.
Can I Upgrade from Windows 10 Home to Windows 10 Pro Using a Bootable USB?
Yes, you can use a bootable USB with a Windows 10 Pro installation to upgrade your existing Windows 10 Home to Windows 10 Pro. During the installation process, you will be prompted to choose the edition to install, allowing you to select Windows 10 Pro and proceed with the upgrade.


