Install Windows 10 from USB Guide

Unlock the secrets of installing Windows 10 from a USB drive with this comprehensive step-by-step guide for beginners.
Table of Contents
Introduction: Starting Your Windows 10 Adventure
This section will introduce the concept of installing a new operating system and how a USB can be used to do this, specifically focusing on Microsoft Windows 10.
What is Windows 10?
Windows 10 is like the brain of your computer. It helps your computer run smoothly and lets you do all kinds of fun things like play games, watch videos, and do homework. It's made by a company called Microsoft, and it's one of the most popular operating systems in the world.
Why use a USB to install Windows 10?
Imagine a USB drive like a magic wand that helps you bring Windows 10 to your computer. Using a USB drive to install Windows 10 is faster and easier than using a DVD because you can carry it around and use it on different computers. It's like having a portable window into the world of Windows 10!
Gathering the Tools
Before you can dive into the exciting world of Windows 10, you need to gather all the necessary tools to kickstart the installation process. Let's take a look at what you'll need:
What You Need Before You Start
First and foremost, you'll need a trusty USB drive to create a bootable version of Windows 10. Make sure you have a computer to work on and access to the internet to download the required software. Having these essentials in place will ensure a smooth setup!
Choosing the Right USB Stick
When selecting a USB stick for your Windows 10 adventure, opt for one with ample storage space and a decent read/write speed. A USB stick with at least 8GB capacity should suffice for this task. Remember, a reliable USB stick is the key to a successful installation process!
Creating Your Bootable USB
Before you start creating your bootable USB drive to install Windows 10, you need to download the necessary software from the official Microsoft website. This software will help you make your USB drive ready for the installation process.
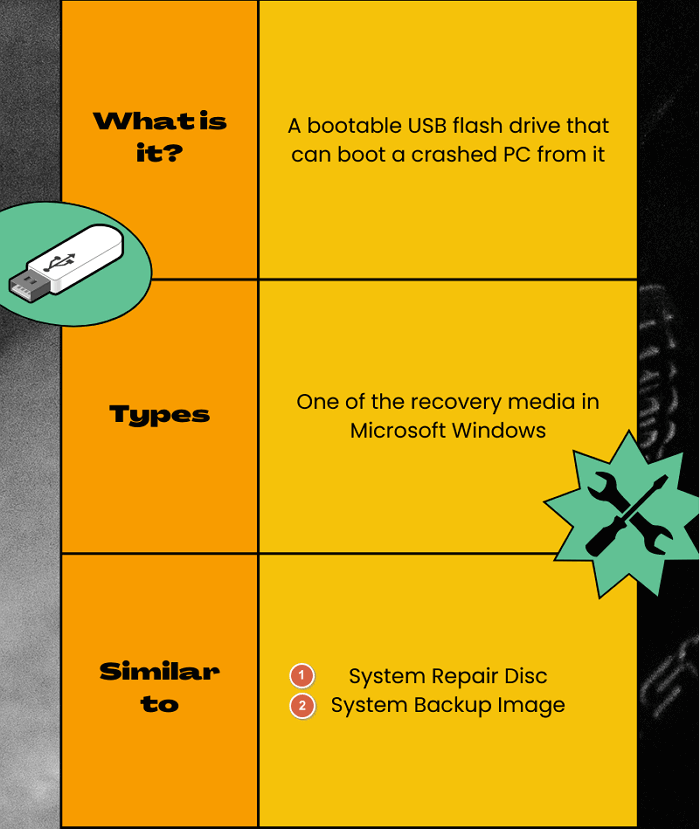
Image courtesy of www.easeus.com via Google Images
Preparing the USB Drive
Once you have downloaded the software, you can begin preparing your USB drive. Start by plugging in your USB drive into your computer's USB port. Remember, this process will erase everything on the USB drive, so make sure to back up any important files saved on it.
Next, open the downloaded software and follow the step-by-step instructions to format the USB drive and make it bootable. This process may take some time, but once it's done, your USB drive will be ready to install Windows 10!
Installing Windows 10 from USB
To begin the process of installing Windows 10 from a USB drive, you need to configure your computer's BIOS settings. BIOS stands for Basic Input/Output System and controls the basic functions of your computer before the operating system takes over.
Firstly, insert the bootable USB drive into a USB port on your computer. Then, restart your computer. During the restart process, you will need to access the BIOS settings. This can usually be done by pressing a specific key (such as F2, F10, or Delete) as soon as your computer starts up. The key to enter BIOS varies depending on the computer manufacturer.
Once you are in the BIOS settings, navigate to the Boot tab. In the Boot menu, you need to change the boot order to prioritize the USB drive. This ensures that your computer boots from the USB drive instead of the internal hard drive.
Save your changes and exit the BIOS settings. Your computer will now restart, and if everything is set up correctly, it will boot from the Windows 10 installation USB drive.
Following the Installation Process
Once your computer boots from the USB drive, you will see the Windows 10 setup screen. Follow the on-screen instructions to begin the installation process.
| Step | Description |
|---|---|
| 1 | Insert the USB drive with Windows 10 installation files into your computer |
| 2 | Restart your computer and access the BIOS menu by pressing the specified key (e.g., F2 or Delete) |
| 3 | Navigate to the Boot Options menu and set the USB drive as the first boot device |
| 4 | Save changes and exit the BIOS menu |
| 5 | Follow the on-screen instructions to install Windows 10 from the USB drive |
| 6 | Choose the installation language, time and currency format, and keyboard or input method |
| 7 | Select the drive where you want to install Windows 10 and click "Next" |
| 8 | Wait for the installation process to complete and follow any additional on-screen prompts |
You will be asked to select your language, time format, and keyboard layout. Make your selections and click "Next."
Next, you will see an option to "Install Now." Click on this option to start the installation process.
Accept the license terms by checking the box and clicking "Next."
Now, you will be prompted to choose the type of installation you want. Select "Custom: Install Windows only (advanced)" as you are performing a clean installation from the USB drive.
Select the hard drive where you want to install Windows 10 and click "Next." If you have multiple partitions on your hard drive, be sure to select the correct one.
The installation process will begin, and your computer will restart several times. This is normal, so do not interrupt the process.
Once the installation is complete, you will be asked to set up your user account, password, and other preferences. Follow the instructions on the screen to finish setting up Windows 10.
Choosing the Right Version of Windows
When it comes to choosing the right version of Windows 10, you might have heard about Windows 10 Home or Windows 10 Pro. So, what's the difference between the two? Well, Windows 10 Home is perfect for everyday users who need essential features like the Start Menu, Microsoft Edge browser, and Cortana voice assistant. On the other hand, Windows 10 Pro is designed for business professionals and power users who require advanced features like remote desktop, BitLocker encryption, and virtual machines.
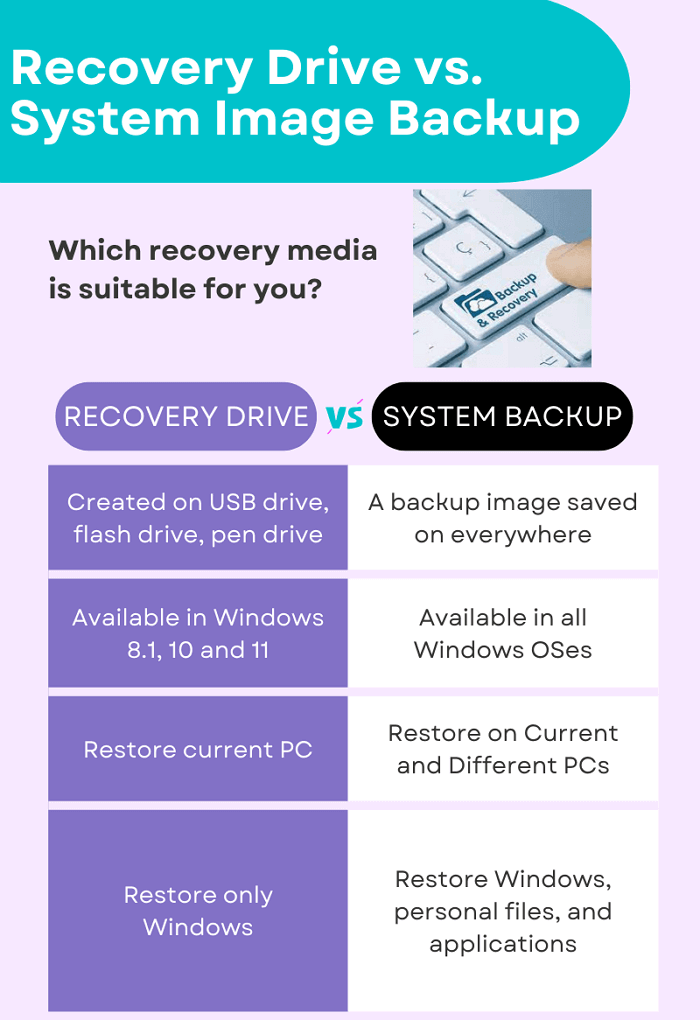
Image courtesy of www.easeus.com via Google Images
Which Version Suits You Best?
Now that you know the basics of Windows 10 Home and Windows 10 Pro, it's time to decide which version suits you best. If you're using your computer for personal tasks like browsing the web, watching videos, and listening to music, Windows 10 Home should meet your needs. However, if you're a business owner or a tech-savvy individual who needs extra security and productivity features, Windows 10 Pro might be the better choice for you.
Conclusion: Wrapping It Up
In this guide, we explored the process of installing Windows 10 from a bootable USB drive. By following the steps outlined in this article, you can successfully set up your computer with the latest version of Microsoft Windows. Let's quickly recap what you've learned.
Key Takeaways
We discussed the importance of using a bootable USB drive to install Windows 10, the requirements for creating one, and the step-by-step process to set it up. You also learned about the different versions of Windows 10, such as Home and Pro, and how to choose the one that best suits your needs.
Final Thoughts
Remember, having a properly prepared USB drive is essential to smoothly install Windows 10 on your computer. Whether you're a casual user or a professional, selecting the right version of Windows 10 is crucial for a seamless computing experience.
Now that you have all the tools and knowledge at your disposal, go ahead and embark on your Windows 10 adventure. Enjoy exploring the new features and improvements that this operating system has to offer!
FAQs
This section will address common questions that an 11-year-old might have about the process of installing Windows 10 from a USB drive.
What do I do if my computer doesn't start from the USB?
If your computer doesn't start from the USB drive on the first try, don't worry! You can try a few troubleshooting tips to solve this issue. Firstly, ensure that your BIOS settings are correctly configured to boot from the USB drive. You can access the BIOS settings by pressing a specific key (usually F2, F12, or Del) when your computer starts up. Check if the USB drive is properly inserted into the computer and try using a different USB port. If these steps don't work, you might need to create a new bootable USB drive with the Windows 10 installation files to try again.
Can I use the USB drive for something else after installing Windows?
Absolutely! Once you have successfully installed Windows 10 from the USB drive, you can repurpose the USB drive for other uses. You can format the USB drive to remove all the Windows installation files and use it to store your school projects, photos, or any other files you need. Just make sure to back up any important data on the USB drive before formatting it to avoid losing any information.


