Unleash the Power of Python: Installing and Setting Up Your Environment

Discover the secrets to unleashing the full power of Python with our step-by-step guide to installing and setting up your environment.
Table of Contents
Welcome to Windows for Dummies - your go-to blog for mastering all things Windows operating system! Today, we're diving into the exciting world of Python – a versatile and powerful programming language that can open up a whole new realm of possibilities on your Windows 10 system. In this guide, we'll walk you through the steps to install Python for free on your Windows 10 device, so you can start building amazing projects and exploring the endless capabilities of this language. Let's get started!
Checking if Windows 10 is Up-to-Date
Before we delve into installing Python on your Windows 10 system, it's crucial to ensure that your operating system is up-to-date. Having the latest updates for Windows 10 will guarantee a smooth Installation process and optimal performance for Python.
To check for updates on your Windows 10 device, simply navigate to the Settings menu by clicking on the Start button and selecting the gear icon. From there, go to Update & Security and click on Windows Update. Windows for Dummies recommends regularly checking for updates to keep your system secure and running smoothly.
Downloading Python Installer
Now that you've confirmed your Windows 10 system is up-to-date, it's time to download the Python installer. Python offers an official website where you can access the latest version of the language for free. It's important to download Python from the official source to ensure a safe and reliable installation process.
Head over to the Python official website and look for the latest version compatible with Windows. Once you've found the right installer for your system, click on the download link and save the file to your computer. Remember, at Windows for Dummies, we always recommend downloading software from trusted sources to avoid any potential risks.
Installing Python on Windows 10
With the Python installer now saved on your Windows 10 device, it's time to kickstart the installation process. Running the Python installer is a breeze – simply locate the downloaded file and double-click on it to initiate the installation wizard.

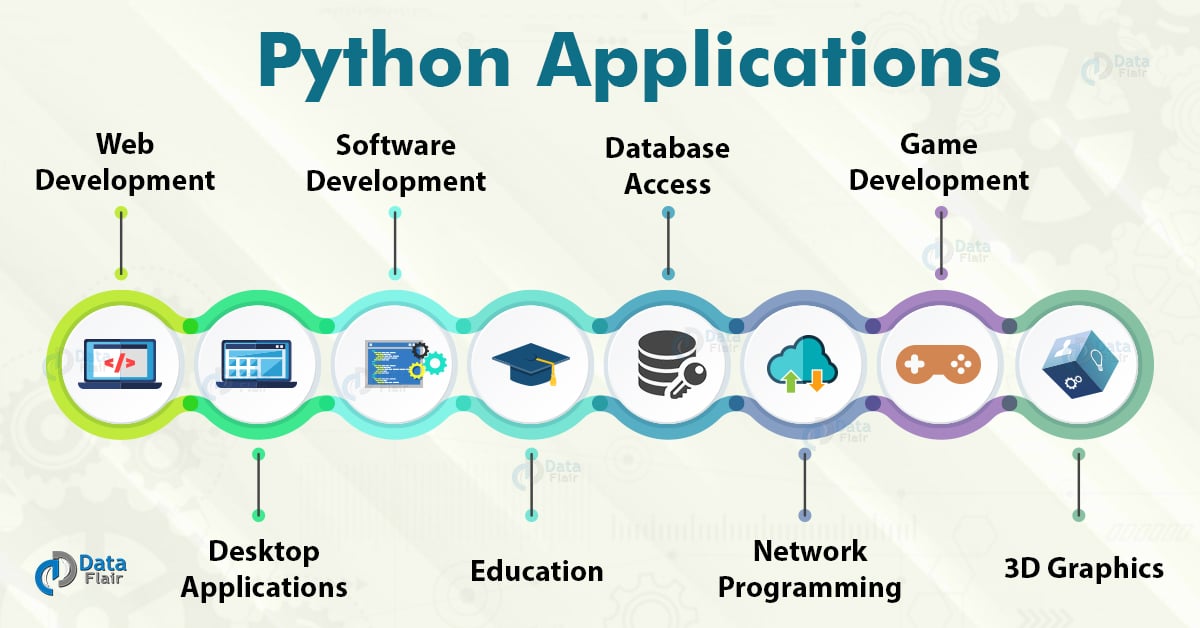
Image courtesy of data-flair.training via Google Images
Follow the on-screen instructions provided by the Python installer to customize your installation preferences. You can choose the installation directory, select additional features, and set up environment variables as needed. Don't worry if you're new to this – Windows for Dummies is here to guide you every step of the way!
Verifying Python Installation
Once you've completed the installation process, it's essential to verify that Python has been successfully installed on your Windows 10 system. Testing the installation is a straightforward procedure that will confirm Python is up and running smoothly.
| Step | Description |
|---|---|
| 1 | Download Python |
| 2 | Install Python on your system |
| 3 | Set up a text editor or IDE |
| 4 | Install pip for package management |
| 5 | Set up a virtual environment |
| 6 | Start coding in Python! |
To verify Python installation, open a command prompt window on your Windows 10 device and type in 'python --version'. If Python is correctly installed, you should see the version number displayed on the screen. You can also test the installation by running a simple Python script to ensure everything is working as intended.
Conclusion
Congratulations! You've now successfully installed Python on your Windows 10 device and are ready to embark on an exciting Coding journey. Python is a versatile language with endless possibilities, and with Windows for Dummies by your side, you'll unlock its full potential in no time.
Remember, mastering Python can open up a world of opportunities for creating innovative projects, automating tasks, and expanding your skill set. Stay tuned to Windows for Dummies for more helpful guides, FAQs, and tips on maximizing your Windows experience. Happy coding!
Generated by Texta.ai Blog Automation


